

Configuring the default scan folder location for your HP printer on Windows helps you organize scanned documents efficiently and access them quickly. Whether you are using an HP all-in-one printer for home or office use, setting a preferred scan destination ensures better workflow and file management.
What is HP Printer Default Scan Folder Location?
The default scan folder location is the destination folder where all scanned documents are automatically saved when you scan using HP software. By default, scanned files are usually saved in the Pictures or Documents folder. However, you can customize this location according to your needs.
Using official HP software such as HP Smart makes it easy to change scan preferences and manage file destinations.
Requirements Before Configuring Scan Folder Location
Before changing the default scan folder location, ensure:
- Your HP printer is properly installed.
- The printer is connected via USB or Wi-Fi.
- Latest drivers are installed from HP Inc..
- HP Smart app is installed on your Windows PC.
- You are logged in with administrator rights on Windows.
How to Download and Install HP Smart on Windows

4
To configure scan folder settings, you need HP Smart software.
Step 1: Download HP Smart
- Open Microsoft Store on Windows.
- Search for HP Smart.
- Click Download and install the app.
Step 2: Install the Software
- Once downloaded, launch HP Smart.
- Follow on-screen instructions to add your HP printer.
- Ensure the printer appears as “Ready” in the dashboard.
How to Login and Activate HP Smart
To access advanced scan settings:
- Open HP Smart.
- Click on Sign In.
- Enter your HP account credentials.
- If you do not have an account, click Sign Up and create one.
- Verify your email to activate the account.
Activation allows you to manage scanning preferences, cloud services, and device settings.
Steps to Configure HP Printer Default Scan Folder Location on Windows
Follow these steps carefully:
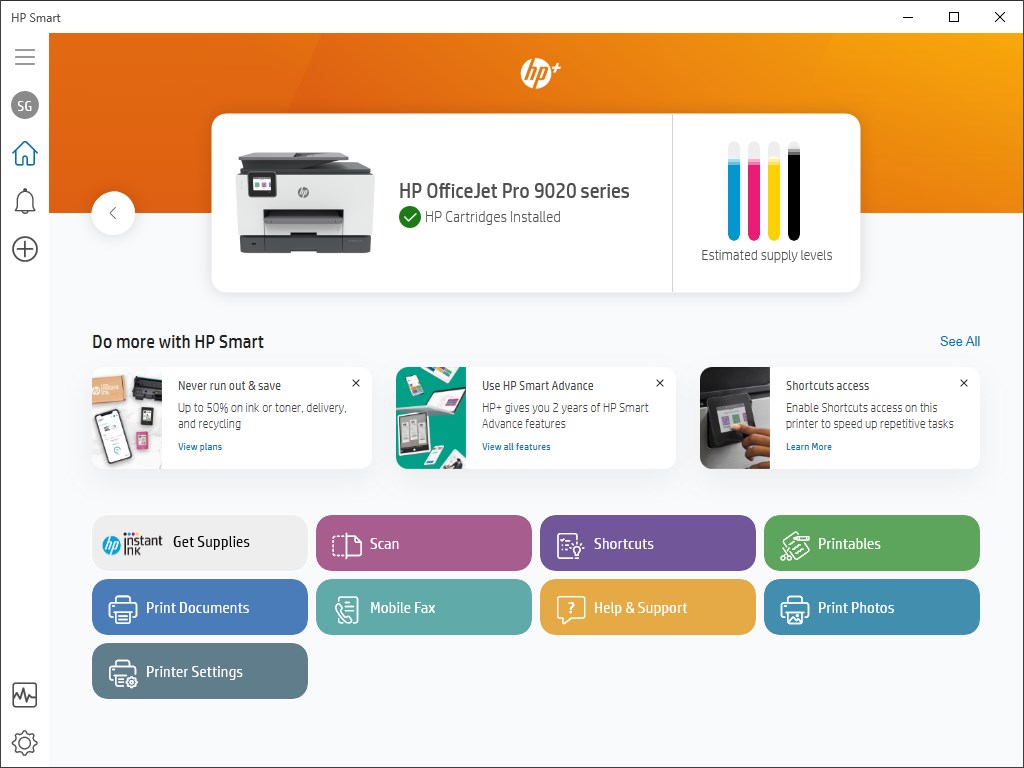
Method 1: Using HP Smart App
- Open HP Smart.
- Click on Scan.
- Select Scanner Settings.
- Choose Scan Preferences.
- Look for Save Location or Destination Folder.
- Click Browse.
- Select your preferred folder (for example: Desktop, Custom Folder, or External Drive).
- Click Save or Apply.
Now all scanned documents will automatically be saved in your selected folder.
Method 2: Using Windows Scan Settings
- Open Windows Settings.
- Go to Devices > Printers & Scanners.
- Select your HP printer.
- Click Manage.
- Choose Scanner Properties.
- Under File Save Settings, select a new folder location.
- Apply changes.
How to Create a Custom Scan Folder
If you want better organization:
- Go to File Explorer.
- Create a new folder (e.g., “HP Scanned Documents”).
- Right-click → Properties.
- Ensure full permissions are enabled.
- Set this folder as the default scan destination in HP Smart.
This method is ideal for office users managing multiple scanned files daily.
Common Issues: HP Printer Scan Folder Not Working
If the scan folder location is not saving correctly, try these troubleshooting steps:
1. Check Folder Permissions
- Ensure the selected folder allows read/write access.
- Right-click folder → Properties → Security.
2. Update HP Printer Drivers
Outdated drivers may cause scan issues.
- Open Device Manager.
- Expand Printers.
- Right-click HP printer.
- Select Update Driver.
3. Reinstall HP Smart
- Uninstall HP Smart.
- Restart your PC.
- Reinstall the latest version.
- Reconfigure scan folder settings.
4. Run HP Print and Scan Doctor
HP provides a built-in troubleshooting tool that detects scanning issues and fixes them automatically.
HP Printer Not Scanning to Selected Folder – Advanced Troubleshooting
If scanning still fails:
- Restart printer and PC.
- Disconnect and reconnect Wi-Fi.
- Set HP printer as default printer.
- Temporarily disable firewall or antivirus.
- Run Windows Troubleshooter.
These steps usually resolve scan location errors.
How to Update HP Printer Software
Keeping software updated ensures smooth scanning:
- Open HP Smart.
- Go to Settings.
- Click Check for Updates.
- Install available updates.
- Restart the printer.
Regular updates improve performance and fix scanning bugs.
HP Printer Customer Support and Service
If you cannot configure the scan folder or scanning is not working properly:
- Visit official HP Support website.
- Use virtual assistant for quick help.
- Contact HP customer service for technical assistance.
- Schedule service if hardware issues are detected.
HP support helps with installation, activation, driver updates, and scan configuration problems.
Benefits of Configuring Default Scan Folder Location
- Better file organization
- Faster access to scanned documents
- Reduced risk of lost files
- Improved productivity
- Custom storage management
Setting up the correct scan location ensures efficient workflow, especially for business environments.
Conclusion
Configuring the HP printer default scan folder location on Windows is a simple yet important step for efficient document management. By using HP Smart software, you can easily change the scan destination, update drivers, troubleshoot issues, and ensure smooth operation.
Regular updates, proper installation, and correct folder permissions help prevent scanning errors. If problems persist, HP customer support is available to assist with installation, activation, troubleshooting, and service-related concerns.
Leave a Reply